Thursday, July 22, 2010

Drilled Control Horns

Tonight Dad and I tackled the job of drilling the control horns to the center bearing assembly. We accomplished this by using a brass tube that had an inside diameter of 3/16" and an outside diameter of 1/4". We put the tube in our drill motor 
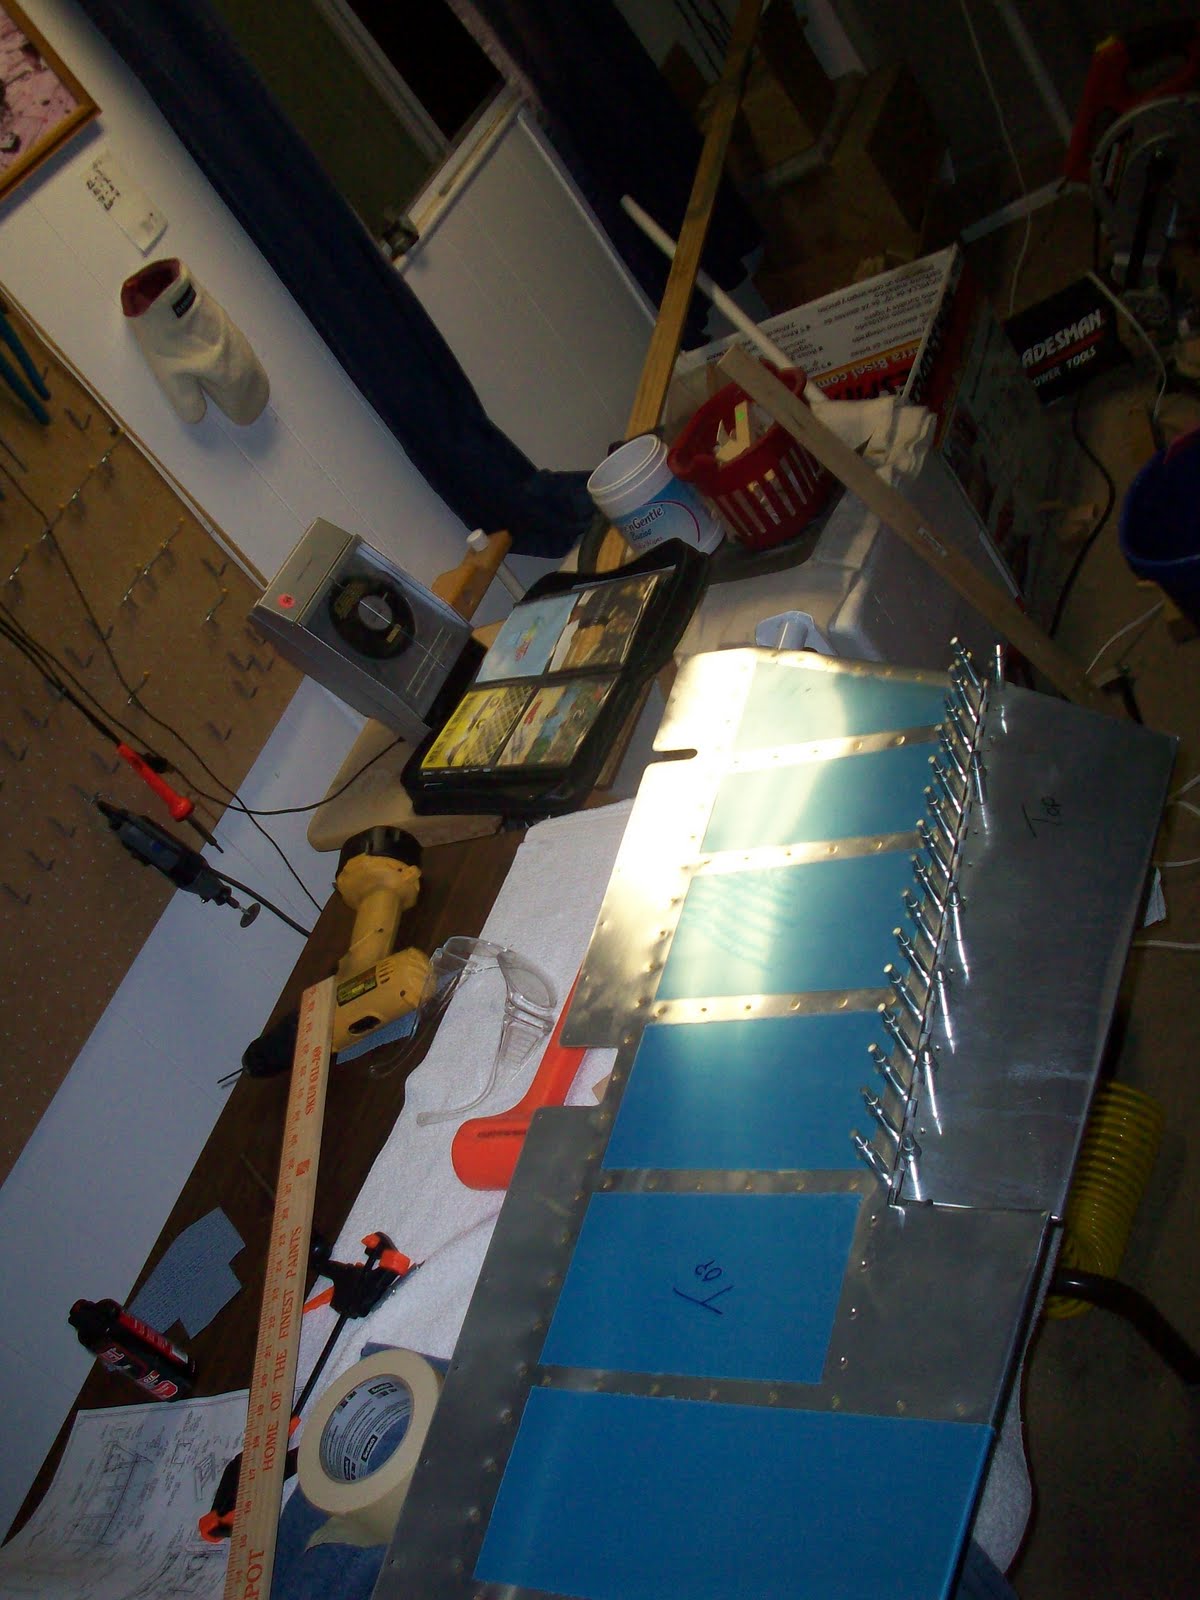
and ran it with some sandpaper around it until it fit perfectly inside the bearing and then it created a perfect guide for our drill.We used a 3/16" drill initially to drill the holes and we finished them with a 1/4". Once both control horns were drilled we put both elevators back on and the bolt slipped right through! It couldn't have turned out any nicer, and we're happy with our results. Time to order the wing kit soon!

Tuesday, July 20, 2010

Mounted Elevators and Rudder

Today we finished rolling the leading edge of the left elevator, and this was a bear.. Initially we tried a 1" diameter pipe to roll the leading edge, but when we clecoed it together it didn't look correct at all, so we finished rolling it with our 3/4" pipe and this got it perfect! It only took 4 tries to get it right..


After we had the leading edge all riveted together we got to work on mounting the elevators and rudder. We trimmed the corners of the skin on the horizontal stabilzer enough to where we could have the elevators swing freely, we didn't get any pictures of this though. We then trimmed the inboard flange of the 603PP spars for down elevator clearance. Once the elevators were all mounted, we moved to the rudder. The vertical stab didn't need any trimming for clearance so this step was pretty easy! All we had to do was drill the hinge point holes to #12 and insert the bolts, which takes a little practice. We ended up using hemostats to be able to work in the tight quarters.


And of course once all the control surfaces we're mounted we had to set it all up and make it look like a tail section!

Friday, July 16, 2010

Finished Trim Tab


Tonight we were able to finish the trim tab and get the hinge riveted to the elevator and the tab itself. We started rolling the leading edge of the left elevator tonight but since we changed to a 1" pipe we think we need an edge rolling tool to complete the seam where the skins overlap. We'll have to finish this once we have the tool. But we're happy with the way the trim tab turned out.

Thursday, July 15, 2010

More Trim Tab Work


Second post of the day! Dad and I decided to drill the forward hinge for the trim tab to the elevator, and we got it knocked out of the way. We used a straight edge to align the trailing edges of the elevator and the trim tab and it turned out quite right. Once it was clecoed together with the hinge in place, the straight edge was only about 1/32" off when compared, so we're happy!


Before we we're able to drill the trim tab hinge we realized that the trim tab spar had to be bent a bit in order for the skin of the tab to be flat on both sides. In other words, without bending the spar, the skin was curved on the top and bottom sides. Not acceptable. So we clamped the tab skin and spar to our work bench firmly, got our deadblow mallet and a piece of 1x3 and went at it. Sounds a bit medieval, but the finished product was nice and straight. Thank you Donovan, for carrying us through this last task of the night.

Trim Tab Work

Today started bright and early. I had a flight lesson in a Comanche 250 today to add to my complex time for my commercial rating but after that we went home and got straight to work on the RV. Since we finished the left elevator (except for the leading edge) we got to work on the trim tab. Everywhere, I read that the trim tab is difficult to get correct.. even the plans tell us this, great!


We already had the trailing edge bent and did this the same way as with the elevators, we also finished the tabs. So we continued by prepping all of the parts and getting them primed. With 110 degree heat we were pretty sure this would be a feasable task, eventhough the humidity was somewhat high. It was a good thing we primed when we did, lightning strikes started three fires today in our area and ash began to blow a couple hours after we had primed. The CDF tankers had their job cut out for them!


Once the parts were primed we worked on the hinge and got it trimmed to size, this took a bit of studying on the plans but we have it looking like it should. We then began riveting the spar to the trim tab skin as well as the control horns, this was a little tricky, since there's not much room for a bucking bar, but we only had to use one OOPS rivet, so we're happy! So far the trim tabs lookin' good.


We got back to work on the trim servo plate and got the brackets riveted on, and like many others, we too found that we will have to fabricate some shims so the servo motor clears the rivets that hold the brackets to the plate.

Tuesday, July 13, 2010

Left Elevator Skin

So it's been a while since I've been able to get cracking on the RV, but today we finally we're able to get back to work! In the last couple of weeks we had trouble bending the elevator tabs and ended up having to order a whole new left elevator skin.


Today we started by etching and priming the inside of the new elevator skin and a few stiffeners that we had to make. Once the priming was dry we continued and back dimpled all of the holes on the elevator skin and dimpled the holes in the stiffeners, this went by quite quickly, and we're starting to get a good rythm in dimpling. Once the dimpling was done we backriveted the stiffeners to the elevator skin and riveted the trim tab reinforcement plate in. Now we're back to where we started from! (Please note: New CD Player, garage sale special, $2.50. Gotta love garage sales.)


Once the stiffeners and trim plate were nice and secure we moved on to the daunting task of bending the elevator tabs. We've been dreading this ever since the last skin. But this time we were able to succesfully accomplish the task. We securely clamped the the skin to our workbench with carpet tape between it and a piece of wood on our bench. After a few attempts we figured that the tape was actually hurting us, for some reason it started to slip and caused problems. So we removed the tape, realigned the skin and clamped once more. Once it was secure again we used a 1x2 piece of wood and a hammer to initiate the bend. We started with the bottom tab and found that we had to grind about 1/16 off for it to properly bend all the way. Once the bottom was done we finished with the top and finally had the tabs bent! This felt great to get out of the way, and we're happy with the results.


Once the tabs were bent we were ready to rivet the understructure to the skin. We started with the end ribs and finished with sealing it all up around the perimeter. Leaving the top flange of the trailing edge spar unfastened for now until the trim tab hinge goes in. All in all, it was a good successful day.

Sunday, July 4, 2010

Trim Servo Work

First off, happy Independence Day to everyone!

Our new left elevator skin arrived on our front door step on Friday and now we're back in business, but now we just have to wait until the E720H bar arrives. Once I got home from work Dad and I got to work on the trim servo brackets. We were able to drill the six holes for the brackets and the finished product came out straight and even! Having the trim servo mounted to the plate looks really cool, and it definitely looks like it belongs in an airplane.

We also finish drilled the new skin and deburred the holes as well as the edges. We picked up foam sanding blocks from The Home Depot and they do a beautiful job for smoothing out the edges of the skins. Hopefull tomorrow we'll be able to prime the new skin and dimple it and be back at square one. Just this time we'll make sure everything is clamped down securely, and I doubt we'll be using the rivet gun to finish the bend..