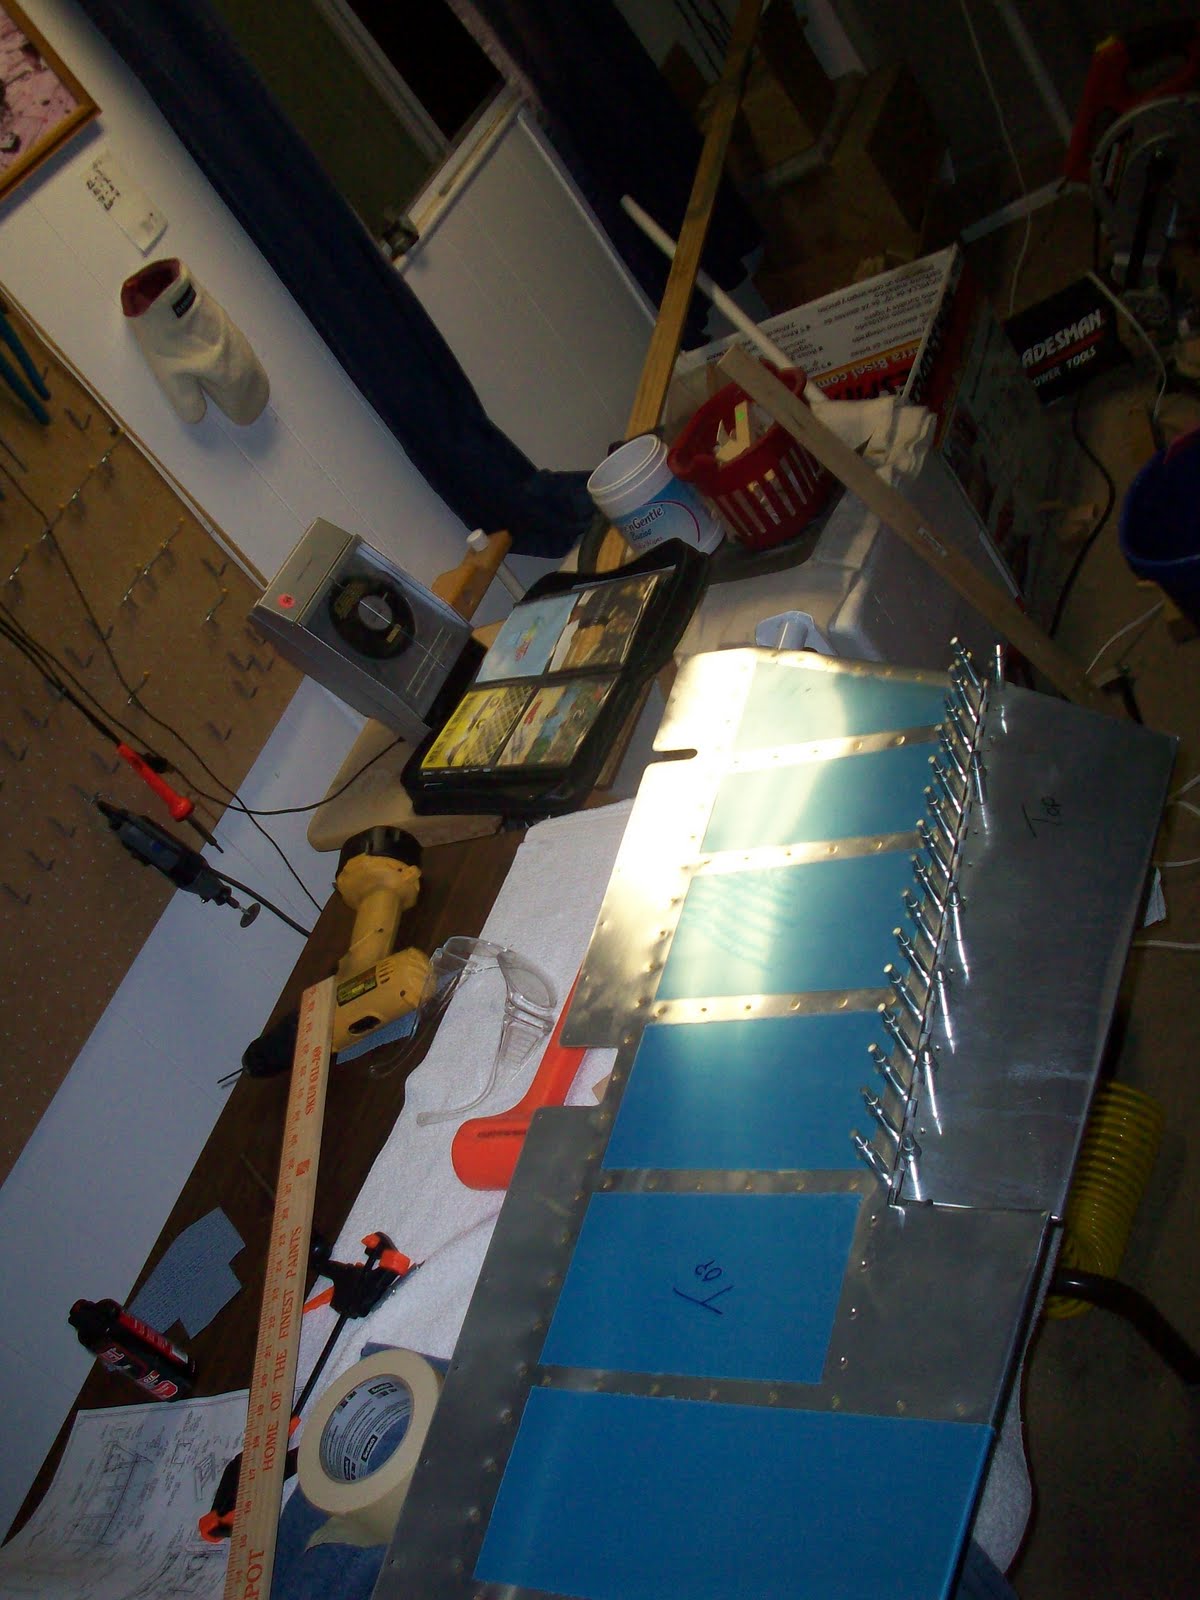
Tuesday, August 24, 2010

Hangar Update

So today after school I headed on over to the airport to meet Dad. We rented a Cessna 182 to taxi over to the hangar to use as a template in place of our friends Skylane (we didn't have access to his airplane today) to see if it would fit in with our 150. After a few minutes of trial and error, we found both airplanes fit perfectly! With both airplanes in we'll still have adequate room to work on the RV. What a great deal.. we have a perfect hangout, a house for our little workhorse 150, and prime working area for the RV project! all for a great price! Though it's still not officially our, it shall be ready for the no vacancy sign one week from today. Time to start thinking about moving stuff out of the storage garage and into the hangar! Today was productive, and we can't wait for the wing kit to arrrive, hopefully within the next 4-6 weeks it'll be arriving at Dad's work!

Wednesday, August 18, 2010

Update

I figured it's been a while since I've put a post up, but I just wanted to let everyone who follows this know that we're still alive and still in the process of building the RV! Currently we're just waiting for our wing kit though, and we're expecting it to arrive within the next 4-5 weeks. Also, we're still waiting to hear the progress of our future hangar we're expecting to move into. It's a 50' x 50' hangar that was used for a glider business that recently shut down on our local airport. We will be splitting it with our friend who will be keeping his Cessna 182 there and we'll have room for our Cessna 150 and our RV project, so it will be perfect! Being able to cancel the current tie down fee for our 150, and the storage space we rent justifies the price of the hangar, so it should work out just fine.

Sunday, August 1, 2010

Fiberglass Work


Lately we've been doing some fiberglass work here and there on the tips of the empennage. We aren't in too much of a hurry to do this right now since we're waiting on moving all of our stuff into the new hangar! But this won't happen until the first of September. We also filled out the wing kit order form and are going to fax it in tomorrow! Here are a few pics of our progress on the fiberglass so far.

Thursday, July 22, 2010

Drilled Control Horns

Tonight Dad and I tackled the job of drilling the control horns to the center bearing assembly. We accomplished this by using a brass tube that had an inside diameter of 3/16" and an outside diameter of 1/4". We put the tube in our drill motor and ran it with some sandpaper around it until it fit perfectly inside the bearing and then it created a perfect guide for our drill.We used a 3/16" drill initially to drill the holes and we finished them with a 1/4". Once both control horns were drilled we put both elevators back on and the bolt slipped right through! It couldn't have turned out any nicer, and we're happy with our results. Time to order the wing kit soon!

Tuesday, July 20, 2010

Mounted Elevators and Rudder

Today we finished rolling the leading edge of the left elevator, and this was a bear.. Initially we tried a 1" diameter pipe to roll the leading edge, but when we clecoed it together it didn't look correct at all, so we finished rolling it with our 3/4" pipe and this got it perfect! It only took 4 tries to get it right..


After we had the leading edge all riveted together we got to work on mounting the elevators and rudder. We trimmed the corners of the skin on the horizontal stabilzer enough to where we could have the elevators swing freely, we didn't get any pictures of this though. We then trimmed the inboard flange of the 603PP spars for down elevator clearance. Once the elevators were all mounted, we moved to the rudder. The vertical stab didn't need any trimming for clearance so this step was pretty easy! All we had to do was drill the hinge point holes to #12 and insert the bolts, which takes a little practice. We ended up using hemostats to be able to work in the tight quarters.


And of course once all the control surfaces we're mounted we had to set it all up and make it look like a tail section!

Friday, July 16, 2010

Finished Trim Tab


Tonight we were able to finish the trim tab and get the hinge riveted to the elevator and the tab itself. We started rolling the leading edge of the left elevator tonight but since we changed to a 1" pipe we think we need an edge rolling tool to complete the seam where the skins overlap. We'll have to finish this once we have the tool. But we're happy with the way the trim tab turned out.

Thursday, July 15, 2010

More Trim Tab Work


Second post of the day! Dad and I decided to drill the forward hinge for the trim tab to the elevator, and we got it knocked out of the way. We used a straight edge to align the trailing edges of the elevator and the trim tab and it turned out quite right. Once it was clecoed together with the hinge in place, the straight edge was only about 1/32" off when compared, so we're happy!


Before we we're able to drill the trim tab hinge we realized that the trim tab spar had to be bent a bit in order for the skin of the tab to be flat on both sides. In other words, without bending the spar, the skin was curved on the top and bottom sides. Not acceptable. So we clamped the tab skin and spar to our work bench firmly, got our deadblow mallet and a piece of 1x3 and went at it. Sounds a bit medieval, but the finished product was nice and straight. Thank you Donovan, for carrying us through this last task of the night.